Ever wonder why some paint jobs look flawless years later, while others start peeling in months? It’s rarely about the paint itself. The real difference comes from the work done before that first brushstroke. Proper wall preparation—cleaning, sanding, patching, and priming—ensures a smooth, long-lasting finish. Understanding these steps helps you see why prep work is just as important as the paint and sets the foundation for a professional-quality result.
Why Wall Preparation Matters More Than You Think
Picture this: you’re about to paint a masterpiece, but you skip priming the canvas—not ideal, right? The same principle applies to your walls. Without proper prep work, even premium paint won’t bond correctly.
Rushing through preparation can lead to bubbling, cracking, and early touch-ups that cost time and money. Older homes, in particular, may have endured years of wear, moisture, or shifting foundations, making careful prep essential before applying fresh color. Giving your walls the attention they need ensures a smooth, long-lasting finish that truly shines.
Step One: Inspect and Assess the Surface
Before grabbing any tools, walk around your home’s exterior. Check for paint that’s cracking or flaking, signs of wood rot, mold, gaps around windows, or rust marks from metal fixtures.
What you find tells you how much work lies ahead. Maybe your place just needs cleaning and light sanding. Or maybe damage needs fixing before anyone picks up a paintbrush.
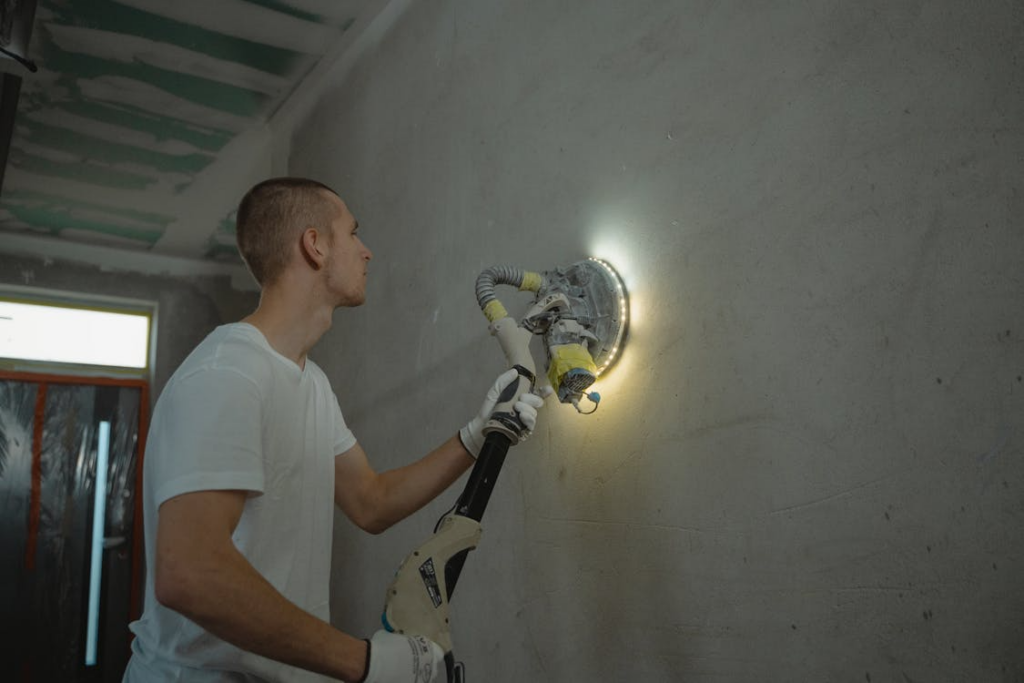
Step Two: Clean Those Walls Thoroughly
Dirt, dust, and grime create a barrier that keeps paint from properly adhering to your walls. If you’re near the Bay Area, experienced exterior painters serving Bay Area homes emphasize that skipping this step isn’t an option.
Power washing removes years of buildup, but it requires skill—too much pressure can damage wood, too little just spreads dirt around. Mold and mildew thrive in humid coastal climates, so a solution of water and trisodium phosphate works wonders. After cleaning, let the walls dry completely for a day or two—painting over damp surfaces leads to bubbling, peeling, and a finish that won’t last.
Step Three: Scrape and Sand for a Smooth Foundation
Now for the elbow grease. Any loose paint, cracking, or peeling has to go.
Scraping handles the obvious trouble spots. Sanding evens out edges where bare wood meets old paint. Nobody wants that ridge showing through a fresh paint job.
Got a home built before 1978? Lead paint might be involved. Professional crews follow EPA guidelines because your family’s safety comes first.
Step Four: Repair Damage and Fill Imperfections
Once the walls are scraped and cleaned, you can see the true condition of the surface. Every crack, hole, and gouge needs to be addressed before painting.
- Wood filler works well for larger gaps or dents.
- Caulk is ideal for joints around windows, doors, and trim where natural shifting occurs.
- Wood rot requires special attention: small soft spots can often be stabilized with wood hardeners, but serious rot may mean replacing sections entirely. Painting over damaged areas only delays the problem and risks a failed finish later.
Proper repairs ensure a smooth, stable surface that supports long-lasting paint and protects your home.
Step Five: Apply Primer for Maximum Adhesion
Primer is the unsung hero of any paint project—it creates the foundation that allows paint to adhere properly and last longer. Skipping it is one of the most common reasons paint fails prematurely.
- Bare wood should get an oil-based or wood-specific primer.
- Previously painted surfaces generally pair well with a high-quality latex primer.
- Stained or problem-prone areas benefit from a stain-blocking formula.
A good primer not only improves adhesion but also helps topcoats cover evenly, prevents peeling, and ensures your final finish looks smooth and professional.
When to Call the Professionals
DIY prep makes sense for smaller indoor projects. But prepping a two-story exterior? Different ballgame.
Pro teams bring safety gear, commercial equipment, and know-how to spot problems you’d miss. They back their work with warranties, too.
Bay Area living means specific conditions—fog, coastal salt, and inland heat. Local contractors understand that firsthand.
Ready for a Fresh Look?
Good wall preparation turns an average paint job into one that protects your home for years. Whether updating an accent wall or going all-in on a complete exterior makeover, putting in prep work upfront pays off big time.
Your home’s worth that extra effort.
FAQs
How long should wall prep take before painting?
One to three days, depending on the condition. Homes with more wear take longer.
Can I paint over old exterior paint without prep?
Technically, yes. Should you? Nope. Paint won’t grip dirty or damaged surfaces. Problems show within a year.
What’s the best weather for exterior painting prep?
Dry days between 50 and 85°F. Skip it if rain’s coming.
How do I know if my home has lead paint?
Houses built before 1978 might have it. Professional testing confirms.
Is primer really necessary?
Almost always. It helps paint stick, covers stains, and extends your paint job’s life. Skipping means repainting sooner.