A shower replacement is one of the most impactful upgrades you can make to your bathroom. An outdated shower not only detracts from the overall aesthetic but can also pose functional issues like leaks or inefficient water use. Upgrading to modern features, such as a frameless shower door, can transform your bathroom into a luxurious, spa-like retreat. Here’s a step-by-step guide to help you replace your old shower with a stunning new design. Keep on reading to learn more!
Assess Your Current Shower and Plan the Replacement
Before diving into the project, take a close look at your current shower setup. Determine what you want to change—whether it’s the style, size, or functionality—and identify any underlying issues, such as plumbing or water damage, that need to be addressed.
Carefully measure your shower space to ensure your new components, such as the enclosure or door, will fit seamlessly. Consider modern upgrades like frameless shower doors or rainfall showerheads to elevate both style and functionality.
Choose Your New Shower Design
The design of your new shower should align with your personal preferences and the overall aesthetic of your bathroom. Modern showers come in a variety of styles, including walk-in showers, corner units, and built-in alcoves.
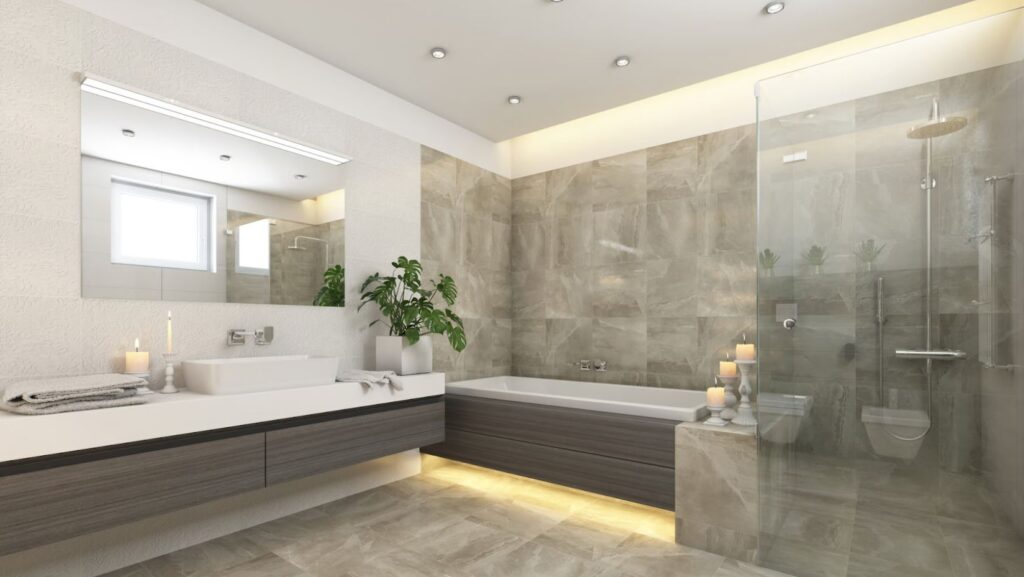
Materials like glass, tile, and stone add visual appeal while enhancing durability. Moreover, a sleek frameless shower door is an excellent option for achieving a minimalist, contemporary look. Its clean lines and seamless appearance can make even small bathrooms feel more spacious and open. Pair it with stylish fixtures, such as matte black or brushed nickel hardware, for a cohesive design.
Gather the Necessary Tools and Materials
Replacing a shower requires the right tools and materials to ensure a smooth installation. Some essential tools include:
- Screwdrivers
- Caulking gun
- Adjustable wrench
- Level
- Utility knife
- Drill
For materials, you’ll need the shower enclosure or door, waterproof backing, plumbing components, caulk, and any decorative finishes like tiles or grout. Having everything ready before you begin will help prevent unnecessary delays.
Remove the Old Shower
The removal process involves carefully dismantling your old shower while protecting the surrounding area. Start by turning off the water supply to prevent leaks or accidents. Disconnect the plumbing fixtures, such as the showerhead, faucet, and drain.
Next, remove the shower doors or curtain rod, followed by the enclosure or wall panels. Be cautious during this step to avoid damaging the walls or flooring. If tiles or backing material are glued down, use a utility knife or pry bar to loosen them.
Inspect the area for any signs of mold, mildew, or water damage. Address these issues before proceeding to the next step to ensure a clean and safe foundation for your new shower.
Prepare the Space for Installation
With the old shower removed, it’s time to prepare the area for your new installation. Begin by installing a waterproof backing, such as a cement board or a waterproof membrane, to protect your walls from moisture. Ensure that the surface is level and smooth, as this will affect the alignment of your new shower components.
Update your plumbing if needed, such as replacing old pipes or repositioning fixtures. Consult a professional plumber if you’re making significant changes to the layout or adding features like a dual showerhead system.
Install the Shower Base or Pan
The shower base, also known as the pan, is the foundation of your new shower. Choose a durable material that complements your design, such as acrylic, fiberglass, or stone.

Carefully follow the manufacturer’s instructions to ensure proper placement and sealing.
Check that the base is level before securing it in place. Proper alignment prevents water pooling and ensures a smooth installation of the remaining components.
Mount the Shower Walls or Tiles
Installing the shower walls or tiles is a key step in achieving your desired look. If you’re using pre-fabricated wall panels, attach them securely to the waterproof backing using the recommended adhesive. Seal the seams with waterproof caulk to prevent leaks.
For a more custom design, opt for tiles made of materials like ceramic, porcelain, or natural stone. Lay out the tiles in your chosen pattern, applying thin-set mortar to secure them. Once the mortar has dried, apply grout to fill the gaps and seal the surface.
Add the Shower Door and Fixtures
The final step in your shower upgrade is installing the enclosure and fixtures. A frameless shower door is a popular choice for its modern appeal and easy maintenance. Carefully follow the installation instructions to ensure proper alignment and secure the door hinges or sliding tracks.
Attach the showerhead, faucet, and other fixtures, ensuring all connections are tight and leak-free. Test the water flow and temperature to confirm everything is functioning correctly.
Address Lighting and Ventilation
Lighting and ventilation are often overlooked during bathroom renovations, but they play a crucial role in the overall functionality of your shower space. Ensure the shower area is well-lit with moisture-resistant lighting fixtures. Consider adding LED lights inside the shower for a luxurious touch.
Proper ventilation prevents mold and mildew from developing due to trapped moisture. If your bathroom doesn’t already have an exhaust fan, now is an excellent time to install one. Improved lighting and ventilation enhance the longevity of your new shower and make the space more comfortable.
Seal and Inspect the Finished Shower
Once all components are installed, seal the edges and seams with waterproof silicone caulk. This step is crucial for preventing leaks and ensuring a long-lasting installation. Smooth the caulk with a damp finger or tool for a clean finish.

Inspect your new shower for any issues, such as uneven surfaces or loose fixtures. Address these concerns immediately to avoid complications down the line.
To sum it up, with your new shower in place, your bathroom is transformed into a stylish and functional space. Regular maintenance, such as cleaning the glass doors and checking for signs of wear, will keep your shower looking and performing its best for years to come. Whether you’re preparing for resale or simply elevating your daily routine, this investment in comfort and style is one you’ll appreciate every day. Thank you for reading and good luck!
