Maintaining your home’s luxurious appeal requires regular upkeep, both inside and out. One of the most effective ways to preserve its exterior is through pressure washing. This process removes dirt, mold, and grime and helps protect your home’s surfaces, ensuring they remain in top condition for years to come.
Whether you’re a seasoned DIYer or considering professional help, here’s how to pressure wash your house to achieve that pristine, well-maintained look. Read on to learn more!
Why Pressure Washing is Essential for Home Maintenance
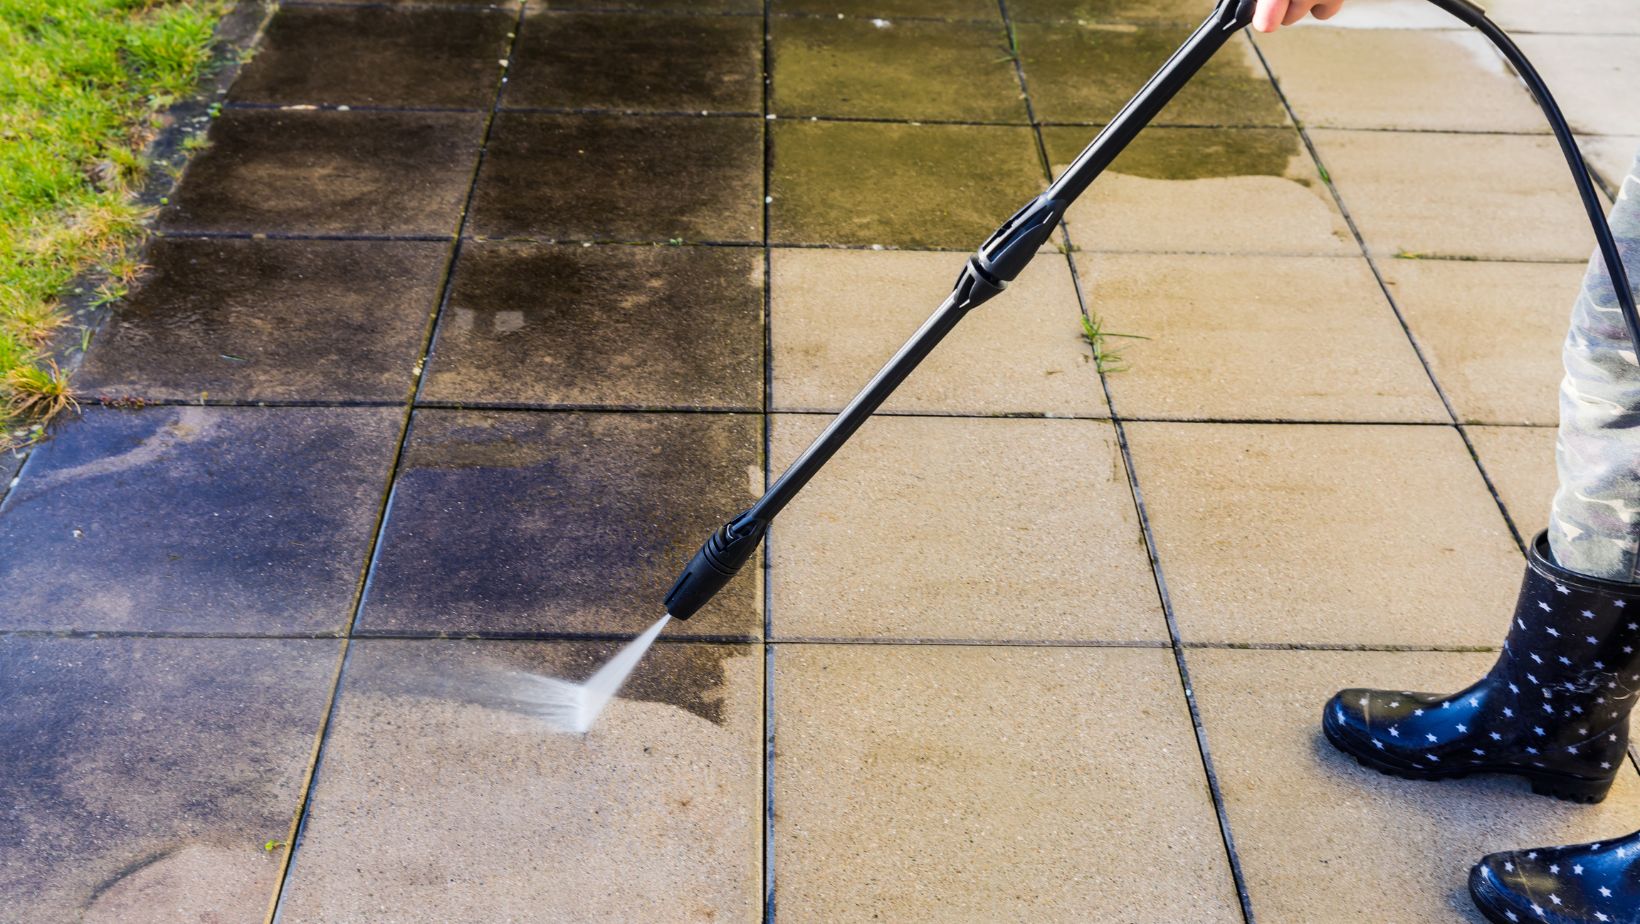
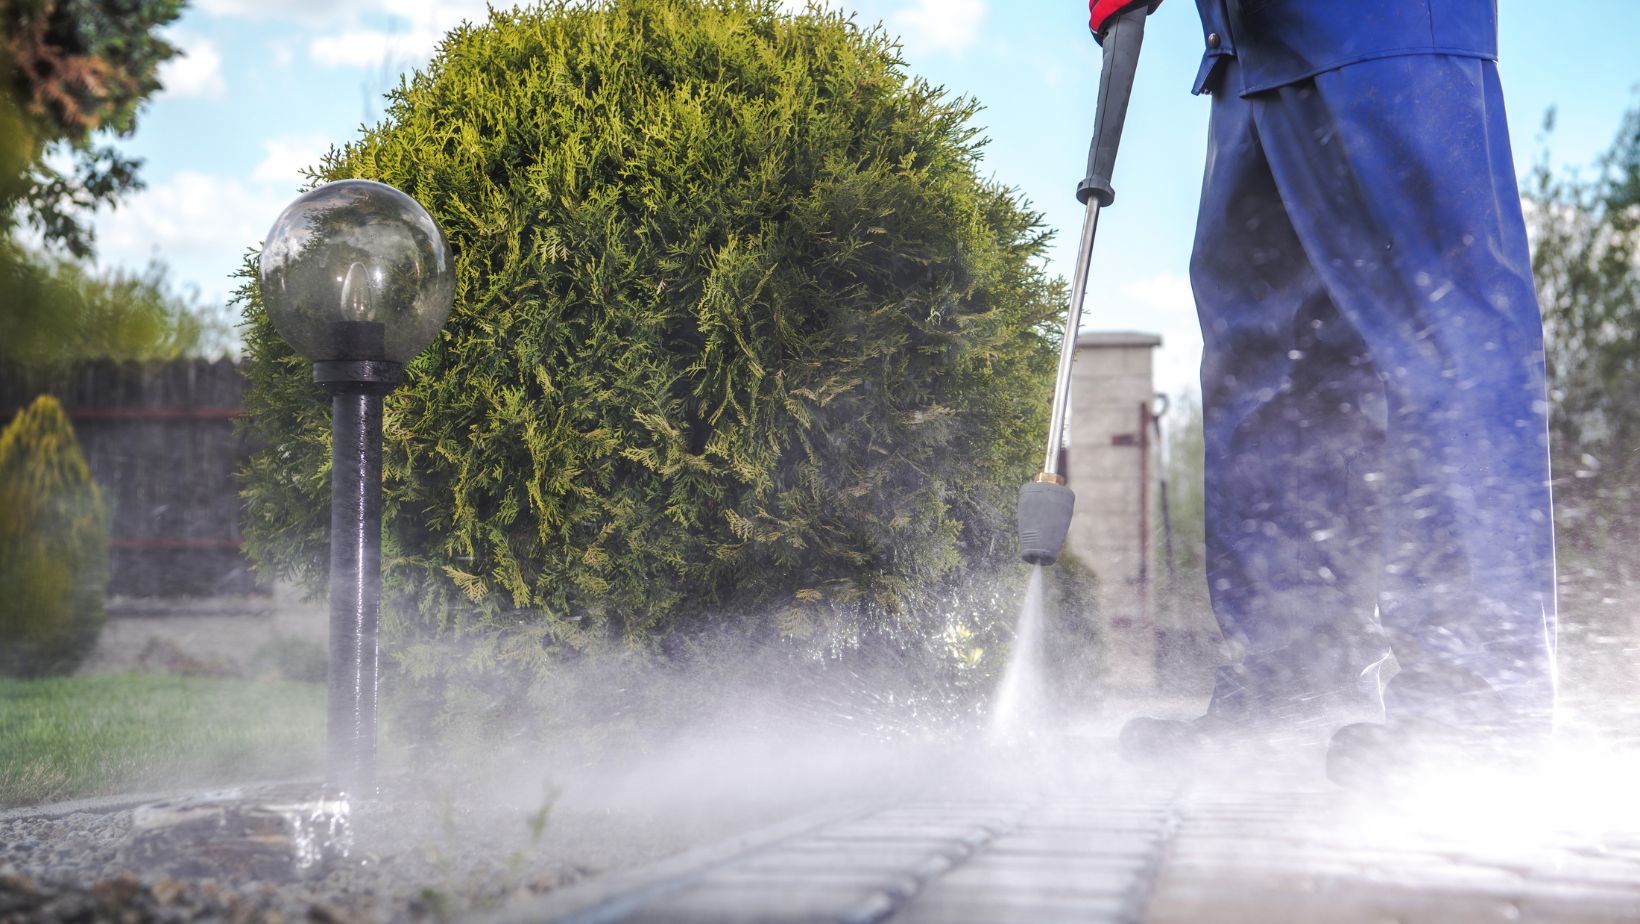
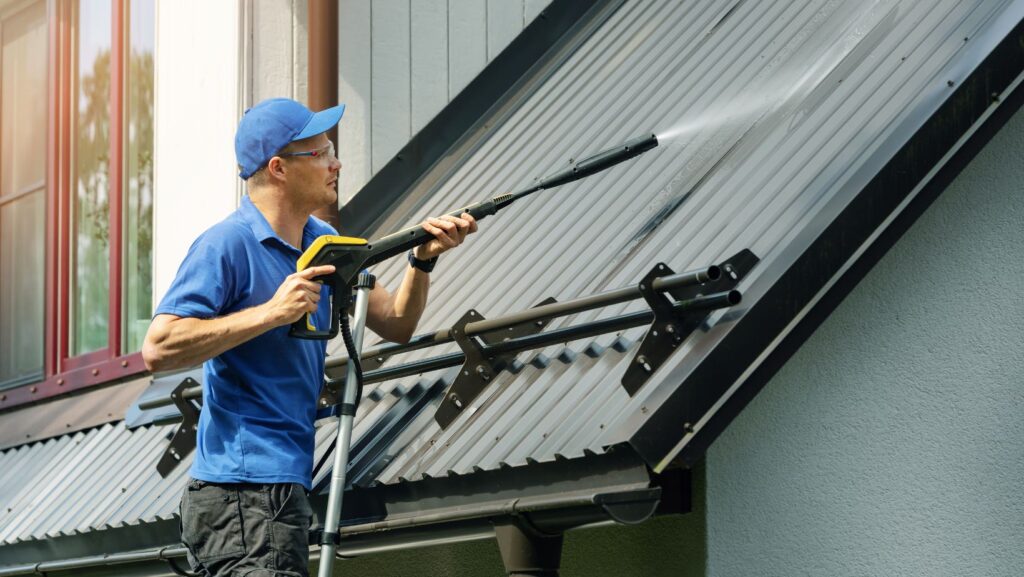
Pressure washing is a powerful cleaning method that can be used on various surfaces around your home. Through this process, you can effectively clear your home of impurities that can accumulate on your roof, siding, walkways, and even outdoor furniture. These elements not only detract from your home’s appearance but can also cause lasting damage if left uncleaned for a long time. A home pressure washing routine helps to eliminate them so you can keep your property looking new and well-cared-for.
If you don’t have enough time for this task or are uncomfortable using a power tool, you can hire experts to do the job for you! Professional pressure washing services offer their skills, expertise, and tools, such as industrial-grade electric pressure washers and power washing equipment, to handle even the toughest grime. Through them, you can ensure the longevity and cleanliness of your home’s exterior without the hassle.
Preparing Your Home for Pressure Washing
Before you begin the pressure washing process, you must prepare your home to avoid any potential damage. Start by removing any obstacles, such as outdoor furniture that might be in the way. Moreover, you also have to cover any delicate areas, like windows and light fixtures, with waterproof material such as plastic sheets to protect them from getting wet.
In addition, you must also look for any signs of damage in your exterior, such as cracks in the siding or loose bricks. If you notice any issues, it might be a good idea to repair these areas before starting. This is especially important if you have a brick home or vinyl siding, as the pressure from a pressure washer can exacerbate existing problems.
The Pressure Washing Process: Step-by-Step Guide
Achieving a flawless exterior for your home starts with understanding the pressure washing process. By following this step-by-step approach, every surface will be thoroughly and safely cleaned:
Wear Protective Gear
When pressure washing, it’s crucial to wear protective gear to ensure your safety. Safety goggles are essential to shield your eyes from debris and water spray, while heavy-duty gloves protect your hands from sharp objects and cleaning chemicals. Meanwhile, non-slip footwear provides stability on wet surfaces, preventing slips and falls during the process.

You can protect your skin from the high-pressure spray and potential abrasions by wearing clothing with full coverage, such as pants and long-sleeved tops. Additionally, if you’re using cleaning solutions or working around mold, wearing a respirator or face mask is essential for lung protection. For added comfort, consider wearing a waterproof jacket to stay dry, especially during extended sessions or in cooler weather.
Choose the Right Equipment
For most homeowners, an electric pressure washer is sufficient for cleaning exterior surfaces. These machines are powerful yet easy to use, making them perfect for a DIY project. If you’re dealing with exceptionally stubborn stains or a large surface area, you might want to rent a more powerful model or consult with a professional about power washing services.
Connect to a Water Source
Attach your water hose to the pressure washer and adjust the flow to ensure a steady water supply. Before turning on the machine, double-check that all connections are secure to prevent leaks.
Select the Correct Nozzle
Nozzles of different degrees are suited for various tasks. Start with a lower-pressure nozzle, like a 40-degree, and work your way up to a higher-pressure option if needed. Always test on a small, inconspicuous area first to protect the surface from damage.
Apply Cleaning Solution
Some surfaces may require a cleaning solution to break down dirt and grime effectively. Be sure to use a solution that works well with your pressure washer and the surface you’re cleaning.
Start Washing
Begin at the top of your home and work your way down. Doing so ensures that dirty water doesn’t drip onto already-cleaned areas. Hold the pressure washer nozzle at a consistent distance from the surface to avoid streaks or damage. As you do so, be mindful of nearby power lines and electrical outlets, as water and electricity are a dangerous combination.
Rinse Thoroughly
Once you’ve washed the entire surface, rinse off any remaining detergent with clean water. This step is crucial for preventing residue that can attract more dirt in the future.

With the proper techniques and equipment, pressure washing can be straightforward and rewarding. Taking the time to do it correctly will leave your home looking refreshed and well-maintained.
Finishing Touches and Post-Wash Care
Ensure that all areas are thoroughly cleaned. If you notice any stubborn stains that didn’t come off during the initial cleaning, it might be worth re-washing those areas with a more concentrated cleaning solution or a different-degree nozzle.
Finally, allow your home to dry completely before returning outdoor furniture and other items to their original positions. Removing excess moisture will prevent mold and mildew from forming, keeping your home looking pristine for longer.
Conclusion
Pressure washing is a great way to maintain your home’s interior and exterior luxury. Whether you tackle this as a DIY project or hire pressure washing services, following the proper steps and using the right equipment will ensure the best results. Through regular pressure washing, you can keep your property looking good as new and live comfortably in a clean, beautiful home.
