
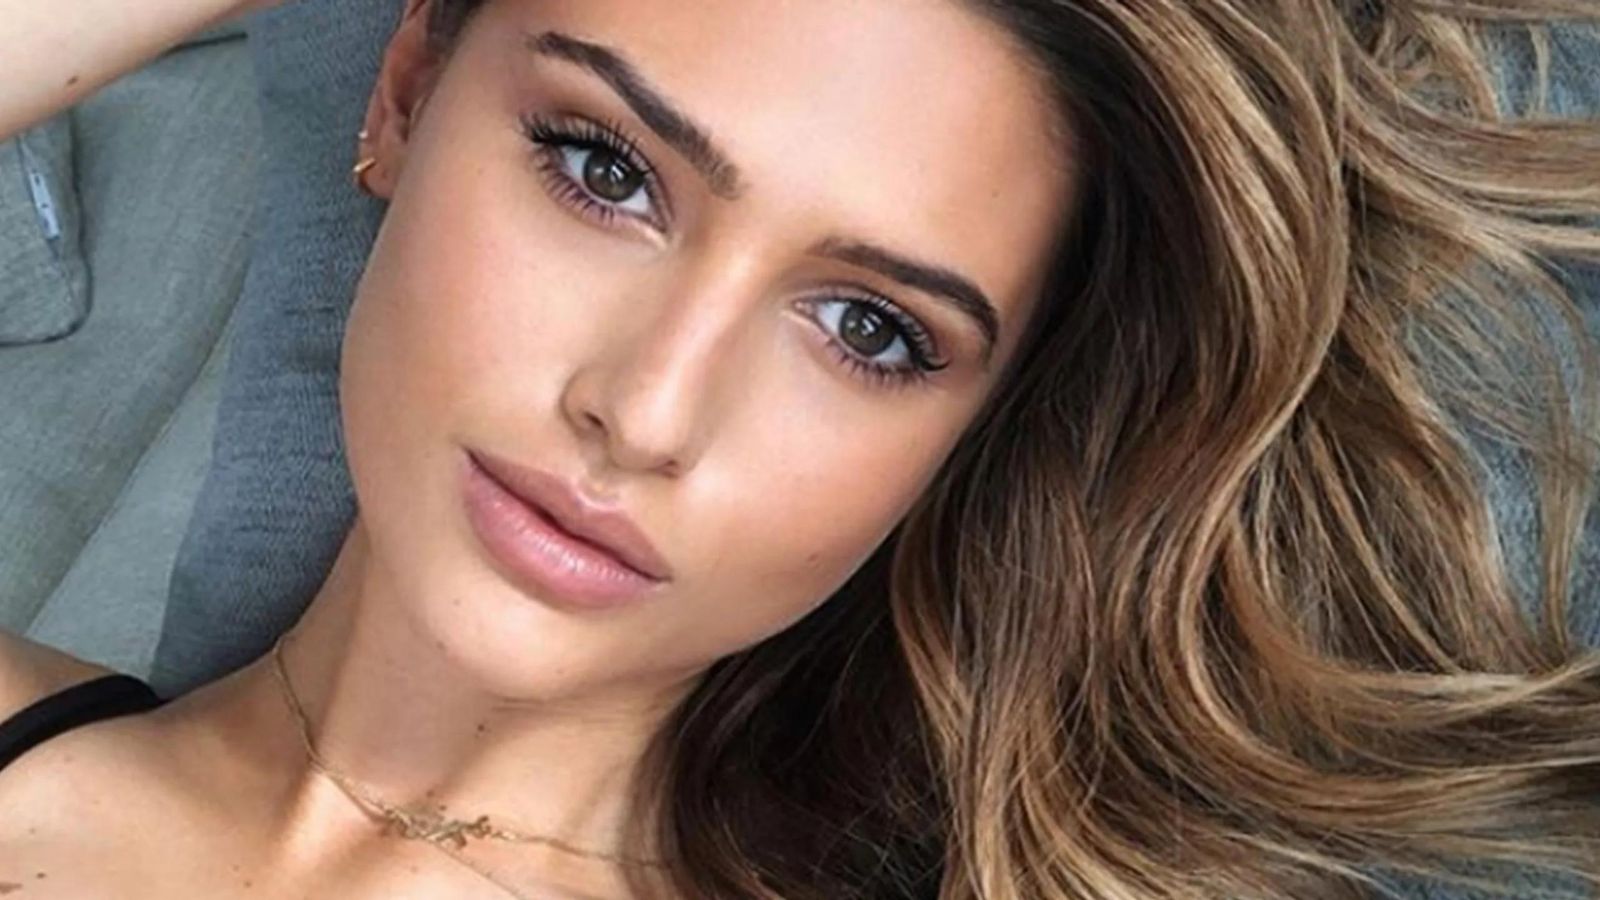
If you’re looking to change up your hair game, balayage might be just the ticket. It’s a French technique that’s taken the beauty world by storm. And guess what? You don’t need to break the bank at a fancy salon. With a little patience and the right tools, you can achieve this stunning look right in your own home.
Diving into DIY balayage can seem daunting, but it’s easier than you might think. This article will guide you step-by-step through the process. Whether you’re a seasoned DIYer or a first-timer, you’ll find tips and tricks to help you along the way. So let’s get started on your Balayage at Home Diy journey.
Balayage at Home Diy
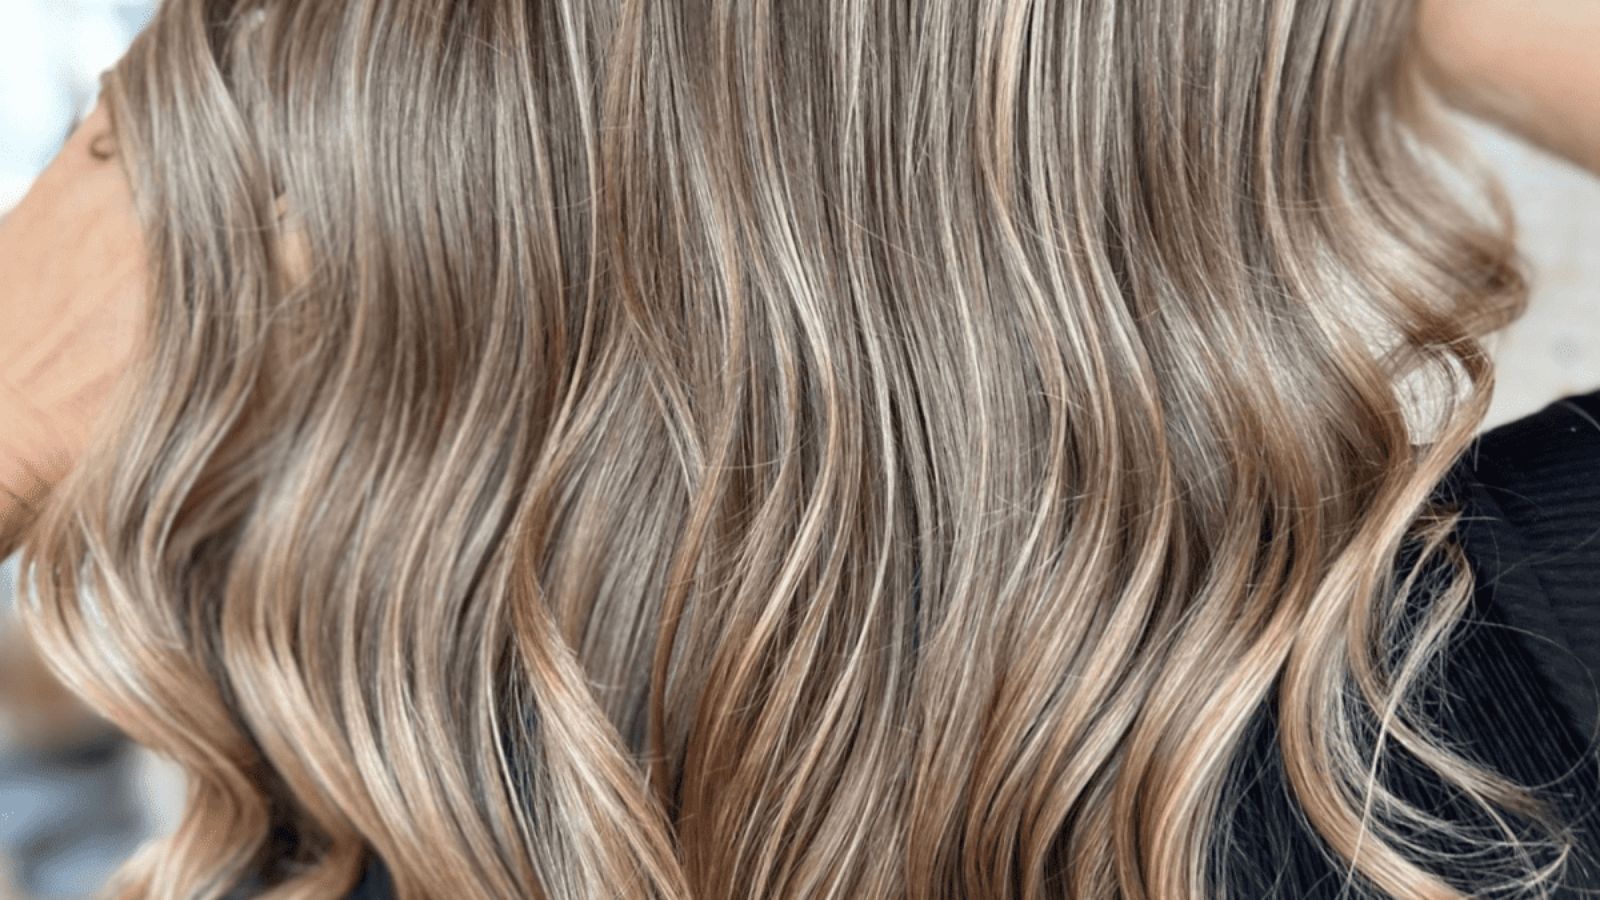
Balayage is a French term that means “to sweep” or “to paint.” It perfectly captures this hair colouring method’s subtlety and artistic application. Unlike traditional foil highlights, balayage allows for a sun-kissed, natural-looking hair colour with softer, less noticeable regrowth lines.
Deciding on the perfect balayage for one’s hair depends largely on their natural hair colour, hair length, and personal style preference. Nevertheless, balayage suits almost all hair colours and hair types. This versatility is a huge part of why it’s seen such sweeping success.
Here are key elements to note in a balayage technique:
- It’s hand-painted: Unique to every individual, the colorist hand paints the dye onto the hair, facilitating a more organic, dimensional effect.
- Less maintenance: Since balayage grows out beautifully and more naturally than traditional colour-dye jobs, the demand for frequent touch-ups is considerably less.
- Customizable: Because of the hands-on application process, balayage can be customised to fit any preferences, from subtle lighting to dramatic colour contrasts.
Doing balayage at home might seem challenging at first, but with the right tools, anyone can achieve salon-like results. This article will provide a step-by-step guide on how to successfully do balayage at home for both experienced DIYers and first-timers.
Necessary Tools and Products for DIY Balayage
Bringing salon-quality balayage home might seem like a daunting task, but it’s not as complicated as you might think. With the right tools and products, achieving stunning results is closer than you might believe. Whether you’re an experienced DIYer or a beginner, we’ll guide you through it!
Essential Balayage Tools
To kick things off, let’s delve into the must-have tools for applying balayage at home.
- Hair clips: Divide your hair into manageable sections
- Balayage brush: Designed to deliver just the right amount of dye, smoothly
- Mixing bowl: A safe space to blend your colours
- Gloves: Protection for your hands, keeping them free from dye stains
These are the frontier tools that’ll help maintain professional-like precision throughout the process. If you’re worried about keeping things neat, add a hair colour cape and a tail comb to your list. The tail comb is ideal for sweeping hair into neat sections and the colour cape keeps clothes dye-free.
Vital Balayage Products
Equally important are the balayage products. Your journey into transforming your hair kicks off with picking the right hair colour. It’s crucial to select the shade that compliments your natural hair color. A common misconception about balayage is that it’s all about blonde highlights. Not true at all! Balayage can bring out the best in any hair colour, from dark brown to black, to light blonde.
Preparing Your Hair for the Balayage Process
Just as a house needs a clean, smooth surface for a new layer of paint, the same principle applies when you’re aiming for a perfect balayage; your hair needs to be in the right condition before you start. Balayage might be a less damaging hair dyeing method compared to others. Still, it’s key to remember it’s a colour lifting process, meaning it’s important to ensure your hair is healthy and well-nourished in advance.
Start by assessing your hair’s health. Does it have split ends? Is it dry or brittle? Ideally, your hair should be strong and moisturised. Therefore, if it’s not in a healthy state, consider consulting with a hair professional or treat it with some deep conditioning or keratin treatments.
Next, sanitise your work area and prepare all the necessary tools. You’ll need hair clips, a balayage brush, mixing bowl, gloves, and colour applicator bottle. Lay out each item within easy reach. The last thing you want is to start the process, then realise you’re missing an essential tool or product.